
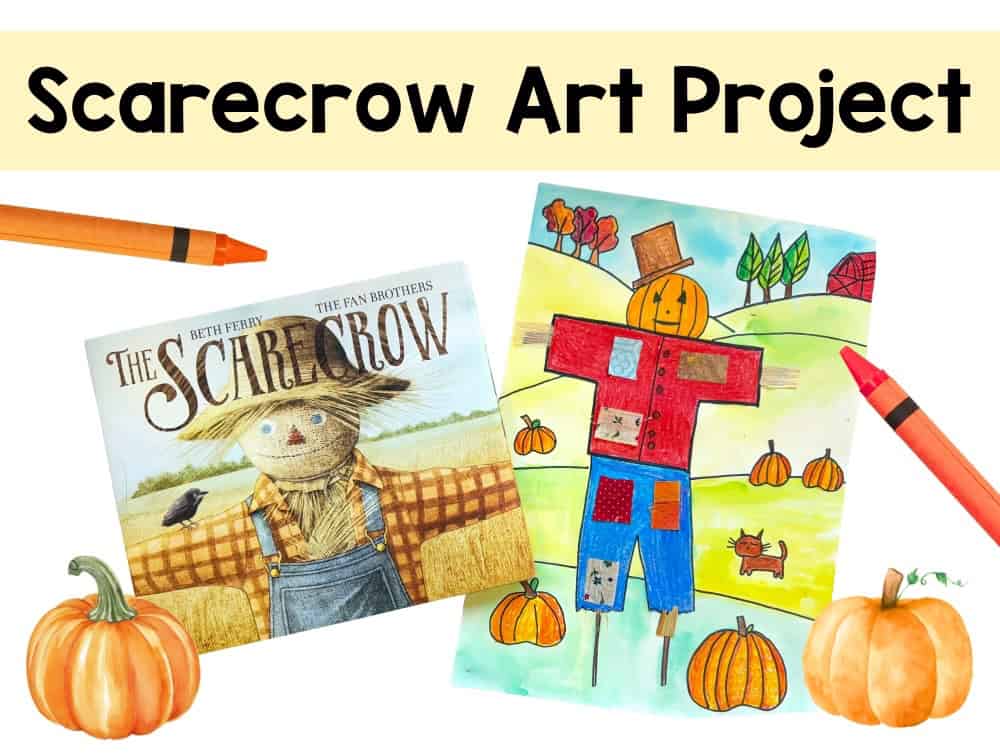
A Perfect Scarecrow Art Project for Kids
Are you looking for a fantastic fall art project for your elementary art students? This is one of my favorites! I do this with my second grade classes. I looked through some of my old Artsonia archives and realized I have taught this project as early as 2007!! And I’ve never written about it on my blog. I was trying to remember where I got this project idea and I think it was passed along to me from one of my colleagues at my second job. I think it was my coworker Jeannie, but I’m not 100% sure, since it’s been so long.
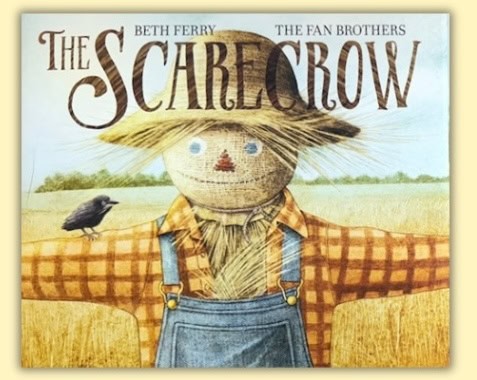
To start the project, we read a fun fall book. This scarecrow book is one of my favorites: The Scarecrow, by Beth Ferry. (Amazon affiliate link at no extra cost to you, all earnings go to pay for this art teacher website and for books/art supplies.)
Scarecrow Art Project Template

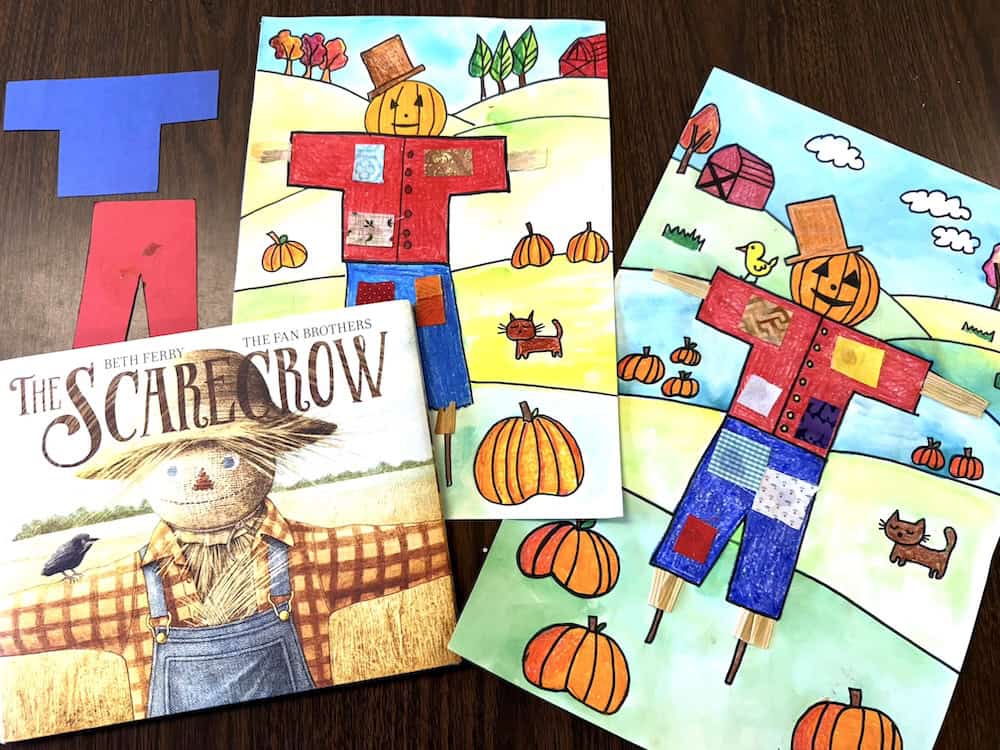
To prep for this project: Download the template. Copy these on to thick tagboard paper or print and then trace on to thick cardstock. Make enough tracers for your class (I usually make half the amount of kids in the class, and then they can share.) You can save these tracers and reuse them for the rest of your teaching career. You will also need to cut out small pieces of fabric and/or corn husks.
Step One: Trace the shirt and pants on to your paper with pencil. We used 12″ x 18″ white construction paper. Add details to your scarecrow, such as buttons on the shirt, a head, a hat and other accessories as desired.

Step Two: Draw hills in the background and behind the scarecrow.

Step Three: Add objects on the ground and in the sky. Think pumpkins, animals, trees, bushes, barn, clouds, etc. The key to this step and to show depth in your picture is to make the objects in the foreground be larger than the objects way in the distance. Further down in this post is a diagram explaining this.

Step Four: Outline in black Sharpie.

Step Five: Add color using crayons (I love Crayolas) to all of the objects in your picture- the scarecrow, pumpkins, trees, etc. But leave the grass and sky white. In the diagram below, you can see how I colored in all of the objects. This diagram also shows how to make your background, middleground and foreground show depth by size differences.

Step Six: Paint the background and sky with watercolors. With kids, I use the Crayola EDUCATION watercolor sets (it has to say “education”). For my own art making, my favorite is the Grabie 100 color set.
Step Seven: Cut out square pieces of fabric scraps. I’ve gotten fabric donated. Cut out pieces of corn husks for the arms and legs that peak out of the clothing. (Ok, I think these are corn husks. I never bought them, but they were in the art room from a long time ago so I’ve just been using these.) Glue on the fabric and the corn husks. Talk with the kids about how you can show texture in an art project.

Here are my finished examples!
Are you looking for even more fun fall resources and activities? Check out these:


Leaf Outlines for Coloring & Designing


Yayoi Kusama Inspired Dotted Pumpkins (one of my most popular blog posts)

Patterned Pop Art Leaf (great for sub plans)

Monthly Choice Boards (October)

Monthly Choice Boards (November)

Thanks for reading about this scarecrow art project! Have you ever done a project like this? How do you teach about depth?

Discover more from Art is Basic | Elementary Art Projects
Subscribe to get the latest posts sent to your email.
Thank you for sharing. I love this. I tweaked the lesson and It works for 9-12 as well when we take it to Adobe Illustrator. Great lesson for teaching illustrated textures.
Again, so glad to find you and your ideas.
Oh cool! I’d love to see this used in an Adobe Illustrator project! Thanks so much for your kind comment. Have a great week!